 "
"
How to Add a BuddyPress Members Map in WordPress (Vue.js Tutorial + Woffice)






TL;DR
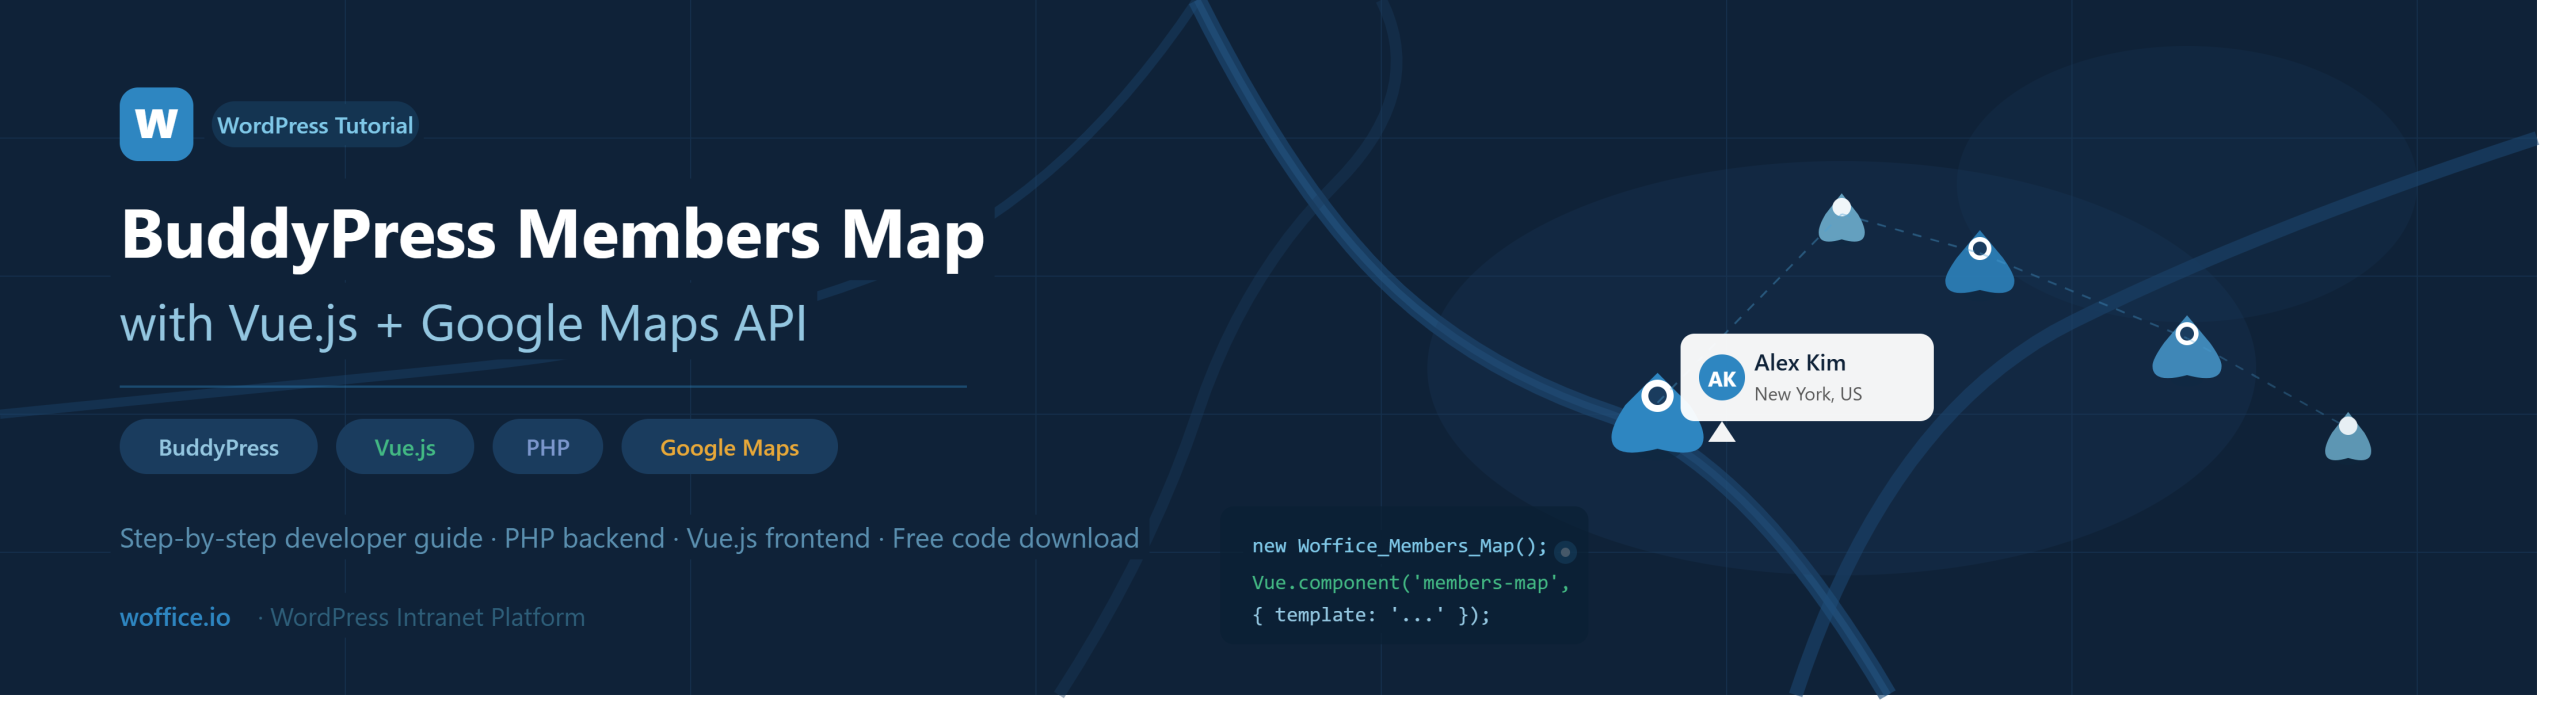
This tutorial walks through building a dynamic BuddyPress members map from scratch using Vue.js and the Google Maps API — covering the PHP backend (xProfile field, Geocoding API, Ajax callback) and the Vue.js frontend (component, map rendering, member markers). It’s a solid custom build for developers who want full control. If you’d rather skip the code entirely, Woffice ships a built-in members map as part of its WordPress intranet theme — no setup required.
How to Add a BuddyPress Members Map in WordPress (Vue.js Tutorial + Woffice)
Visualizing your BuddyPress community on a live, interactive map is one of the most useful things you can add to a WordPress intranet or community site. It helps distributed teams see where colleagues are based, lets members find each other geographically, and adds a layer of engagement to any BuddyPress-powered platform.
This tutorial covers two paths:
Option A — Build it yourself: A step-by-step developer guide to creating a dynamic BuddyPress members map using Vue.js and the Google Maps API. Full PHP backend, Ajax, and frontend component included. A downloadable working zip is linked at the end.
Option B — Skip the build: If you’re running Woffice, the members map is already built in. No code required. Explore the Woffice members map demo.
The tutorial below covers Option A in full.
To follow along, you’ll need:
- A WordPress installation with BuddyPress active
- PHP skills (OOP + WordPress development)
- Vue.js basics
- A Google Cloud account with the Maps JavaScript API and Geocoding API enabled.
Last but not least, lots of functions will be prefixed woffice_, change that with your own prefix.
Enough talking! Let’s get started.
What We’re Building
A fully dynamic Google Map that pulls BuddyPress member locations, converts them to GPS coordinates via the Geocoding API, caches them in the WordPress database, and renders each member as an interactive map marker — all powered by a single Vue.js component.
The tutorial is split into two parts: Backend (PHP) and Frontend (Vue.js). All functions are prefixed woffice_ in the examples below — swap this for your own theme or plugin prefix. The complete working code is available as a downloadable zip at the bottom of this post.
Part I: Create The Backend Side
In this first part of our BuddyPress Member Map tutorial, we will create our PHP Class to handle everything in this tutorial in one single place.
Then, create the Location field to collect the member’s address. Store it safely. Once done, we will have an Ajax callback setup (which will be called by our Frontend Vue.Js component).
And we’ll optimize it to use as less requests as possible (using some home-made cache).
Getting The Member’s Location
Firstly, let’s ask a quick question: How can we collect the user’s location, easily?
No idea. Com’on…. Remember, we are teaming up with BuddyPress on this, so let’s use it! BuddyPress has a nice extension named: xProfile.
You can activate it from the Settings > BuddyPress > Components screen.
We are going to wrap all our PHP code in a class: Woffice_Members_Map, again change Woffice with your theme/plugin’s name. This class can be called from any PHP file, ideally functions.php (child or parent theme):
new Woffice_Members_Map();
We will simply create a method that will be attached to the `xprofile_updated_profile` BuddyPress action, so our code will be executed whenever someone saves its profile.
We avoid using bp_init.
Because otherwise it’s being run on every page load. However, it means you need to save your profile to generate the field. Feel free to use any other specific action, like on theme activation.
Once hooked, we run a SQL query to see if the Location field exists and otherwise we create it.
Plain and simple.
That will (should) give you a new field when you edit your BuddyPress profile. “Location”, it will hold the member’s location inside our database.
Saving The Coordinates in Our Database
We now have nice locations getting saved, but Google Map does not eat this kind of food. The diet is Geographic coordinates.
Therefore, how do we get coordinates from human-wrote locations?
Well, we use the Google API: Google Maps Geocoding API.
This API turns addresses into coordinates.
So you need to create a new Google Cloud Account (if you do not have one yet), create a new project called “Members Map” and activate this API. You can also enable the JavaScript map API as well. We will need it later on. Once both APIs created, generate API keys from the Credentials screen.
We need those.
Here is our Woffice theme’s doc article about how to get them:
Google Map Geocoding
Then, we will save all coordinates inside our database, within the wp_options table. As a new option.
Why?
Because requests are expensive to this API.
Thus, the idea is to call it only when needed, so if we already have the coordinates for one member, we don’t need it again, unless, of course, it’s being updated.
The option name in this example will be: “woffice_map_locations“. The data inside is formatted using JSON.
Let’s do it! Three new methods in our PHP Class:
- saveSingleMember() which is hooked to the `xprofile_updated_profile` action, so whenever a new member profile is saved, we will see if there is an existing entry in our option and if not, fetch the coordinates. Same if it’s being updated.
- getMemberCoordinates() which will fetch the Coordinates for a given member. That’s where we will call the API and the BuddyPress xProfile field.
- apiRequest() is a helper to call the API and returns the result.
Notes:
- We split into 3 methods because if you want to use a more complex workflow, some methods can be reused independently. Like having a button that regenerates all coordinates, we do that in Woffice and you don’t need the first method but the other two.
- We are using a Class attribute ($privateApiKey) to hold the API key, if you have a Theme Settings page, get it from there.
Cool!
So now, we can save addresses in our profile and get coordinates saved inside our database.
That really is all we need ? Here is an example of the result in the Database:

Creating The Ajax callback
Third step, the goal of this part is to make the coordinates we just saved inside our wp_options table available from the Frontend side, safely. Of course.
In the __construct() method, let’s add our Ajax callback functions:
If you are not comfortable with how WordPress handles Ajax requests, please have a look at this article.
Also, we are using a WordPress nonce to make the request safer and make it can only be sent through our Vue.js component.
Here is the loadMembers() method that we can add in our class:
As you can see, we are also adding a `woffice_members_map_locations` filter to let any child theme or plugin add custom data to the response using a WordPress filter.
There is also a default response if there is no coordinates found.
Part I is over! As of right now, the backend part is done. No more PHP, well, almost. Here is a quick recap of what we’ve done:
- Insert automatically a new BuddyPress xProfile field in the user’s profile page to collect the Location.
- Use the Geocoding API to turn this Location into GPS coordinates and saved them inside our database in the wp_options table as a new option to save requests.
- Created an Ajax callback to return the saved coordinates as a formatted array.
Real cakewalk ?
Part II: Create The Frontend Side
What we will do in this part will be to create the Vue.js component, define it, register it and call it with a PHP function.
The goal of the component is to wrap everything in a single Vue.js component (that’s the real magic!), no dependency, just this component. Once the component loaded, it will do three pretty cool, yet simple things:
- Create the Google Map
- Fetch the Members coordinates
- Render the Members into the map
Define Our Vue.js Component
First off, create a new file called js/wofficeMembersMap.js, it will hold our Vue.js component.
We will “enqueue” it to the page’s footer within our __contstruct() method:
And therefore, also add a new method to register both the library and our component:
As you can see, we are also embedding the Google JavaScript Map API. Therefore you need to create another (different one than the one used before the backend side: geocoding process) public key.
Once done, register it in the class as a new attribute.
Once that’s set up, you will see both JavaScript assets loaded in your source code. Now, we can create the scaffolding of our component with our newly registered “.js” file:
What are we doing here?
- Creating a new Vue.js instance, that’s not a required step, if you’re using Vue.js already. Then just register the new component to this instance instead. Vue power!
- Set up the markup, very easy here as it’s going to be rendered by Google Map, not us.
- Registering our two component properties: height, url.
- Setting up the default Vue.js hooks that we are going to use. We could use some other ones as well, for the sake of simplicity, those 2 will do just fine! Make sure to checkout this must-read doc article from Vue.js: Lifecycle diagram.
- Note that we are using old JavaScript markup here because we (Woffice developers) want to keep support for old browsers and care a lot about the final bundle size. But this code is easily adaptable to ES6 using Babel. Nothing tricky.
Render The Component Using PHP
There are several ways to display the Vue.js component, we can use a PHP function like woffice_render_members_map() and call it from a template.
But we can also use a shortcode. Which offers the same advantages of the first method but on top of this, you can also use it right from the editor.
So, let’s create a new shortcode: [woffice_members_map] that you can use from your editor or using the do_shortcode() function from your template. The other advantage is that you can pass attributes later on if you want to extend it easily.
Nothing new here, we need to register it from our __contstruct() method.
And then, the method itself that will simply output the Vue.js component with some HTML markup.
We also pass attributes directly there to avoid using a “Data exchanger” (registering a JavaScript object in the wp_footer hook on the PHP level to pass data between PHP and JavaScript).
Create The Google Map
At the same time, we are simply going to create a new method in our component: createMap().
Which will? … … Create the map!
Not original, but makes sense.
That method will set the map’s height and use the Google Map API to generate a simple map:
Did you notice? We are using the famous component’s data object to store the map’s zoom level and center. Feel free to improve it and use shortcode/coordinates attributes. Moreover, you can use this website to get the Latitude and Coordinates of any address.
This is a VERY simple example, you can make it a LOT more complex (custom style, custom controls, animations…).
Google showcases an excellent documentation on this API. So when you use [woffice_members_map] in any post or page, you should (will, I hope) see:

Fetch Our Members
Okay, so we have a map.
How about we now call the Ajax callback we have defined in the first step to fetch our Members coordinates from our database and render them? Sounds good.
Update the mounted() hooks to call a new method that we will define under the methods: {} object:
Couple of things to notice here:
Firstly, we are using a “WordPress nonce” to secure the request.
Secondly, we store the fetched members coordinates in the data object to be able to use it easily in any other method of our component.
Once done, we call a new method: drawMarkers().
See the next section ?
Last but not least, install the Vue.js dev tool. You will be able to visualize the data:

Add The Markers To The Map
Finally, here we are, the last step!
We now have a map and members coordinates, how about we do some cooking to mix them?
Sounds good to me.
Nothing fancy, let’s define the drawMarkers() method called in the last method in the fetch members’ success callback function. This method will go through all member locations we received from our backend and create a Google Map marker (more details here).
Then, we will use the user’s info, that we pass as well in the Ajax PHP callback to have some HTML markup inside the map marker. Again, easy-peasy.
As you very likely have guessed, we are using a child theme in this tutorial for our Woffice theme.
Which provides Bootstrap 4 out of the box, so no CSS, yay! I just used helper classes to get a “nice” (not bad) layout inside my marker:

Which is our final result! Just this? Wait, that’s a simple example, it’s super flexible, will support as many members you want, you can change the content, style, animations, marker and a lot more.
You can see some cool examples in our Eonet and Woffice members demo pages.
In summary, what we have done in this frontend part is:
- Add Vue.js and the Google map public librairies to our frontend side. Plus, registering our own Vue.js component.
- Create a Google Map using the Google Map API v3.
- Fetch our members using the Ajax callback we have defined in the first step.
- Render the members in the map using some pretty cool map markers.
Conclusion
Hope you liked it! You are now able to create your own BuddyPress Members Map.
For any detail or improvement you have in mind, please use the comment section below.
This being said, a couple of final notes here:
- Vue.js can be added to WordPress, VERY easily. It’s dynamic and easy to develop with. Use ES6 if you can.
- If you have many members and they “step” on each other, consider using Marker clusters (see this article).
- Finally, This tutorial was designed to be as simple as possible, there are dozens of improvements you can apply: using theme options, custom attributes, better marker markup, custom map style, better error handling and so on.
What If You Don’t Want to Build This from Scratch?
This tutorial gives you full control and works with any BuddyPress setup. But if you’re already using, or considering Woffice as your WordPress intranet theme, the members map is built in and requires zero setup.
The Woffice members map includes:
- Automatic location collection from member profiles
- Marker clustering for large teams
- Clickable member cards on each map pin
- Works out of the box — no API keys to configure, no PHP class to build
👉 See the Woffice members map in action
Frequently Asked Questions
What is a BuddyPress members map?
A BuddyPress members map is an interactive Google Map embedded in a WordPress site that displays the geographic locations of registered BuddyPress community members. Each member’s location is collected from their profile, converted to GPS coordinates, and rendered as a clickable map marker. It’s commonly used in intranets, community sites, and membership platforms to help distributed teams or communities visualize where members are based.
Do I need coding skills to add a members map to a WordPress BuddyPress site?
The custom build in this tutorial requires PHP (including OOP and WordPress hooks), basic Vue.js knowledge, and a Google Cloud account with the Geocoding and Maps JavaScript APIs enabled. If you’re not a developer, Woffice offers a built-in members map as part of its WordPress intranet theme — no coding required.
Which Google APIs are needed to build a BuddyPress members map?
You need two: the Google Maps Geocoding API (to convert text addresses into latitude/longitude coordinates — used on the backend) and the Google Maps JavaScript API v3 (to render the interactive map on the frontend). These require separate API keys in Google Cloud, though both can live under the same project.
Why store coordinates in wp_options instead of calling the Geocoding API on every page load?
The Geocoding API has usage costs and rate limits. Calling it every time the map loads would be slow and expensive. Storing coordinates in wp_options as a cached JSON object means the API is only called when a member’s location is new or updated — every subsequent map load reads from the database, which is fast and free.
Can the BuddyPress members map handle large numbers of members?
Yes, but for communities with many members — especially those concentrated in the same geographic area — standard markers will overlap and become unreadable. The Google Maps Marker Clustering library solves this by grouping nearby markers into clusters that expand when clicked. Woffice’s built-in members map includes clustering by default.